Gravity Forms to monday.com: Send Form Data Without Zapier or Make


Connecting Gravity Forms to monday.com is a common need for teams who want to streamline data collection and project management. Many users rely on Zapier or Make to automate this workflow, those platforms might be costly, or overkill for simple form-to-board automation. In this guide, you’ll learn how to send Gravity Forms submissions directly to monday.com using webhooks — no Zapier, Make, or other automation tools required. By the end, you’ll have a fast, reliable, and cost-effective setup that instantly pushes form responses into your monday.com boards.
HookPanda is a monday.com add-on that enables incoming webhooks directly within monday.com. Simply create your webhooks on monday.com, and they’re ready to handle requests—no need to manage integrations through third-party applications.
Install HookPanda on your monday.com account
You can install the app from the monday.com marketplace.
After installation, create a HookPanda board — this is where you’ll manage your webhooks. Below is a screenshot showing how to create a HookPanda board.

The first time you open the app, you will be asked to authorise HookPanda to have access to your account.
Creating your Webhook
Click the “New Webhook” button at the top of the board to open the Webhook creation drawer. Select the Workspace and the target board where you want to forward your Gravity Forms data.
For this tutorial, I’ve created a “Gravity Forms Demo” board in my monday.com account. Here’s what my filled-in drawer looks like:

When you’re done, click the “Create Webhook” button to finalize your webhook setup.
Mapping Gravity Form fields to Monday board columns
Gravity Forms
Lets start with the Gravity forms configuration on wordpress.
Open Your Form Settings
- Go to Forms → Forms in your WordPress dashboard.
- Hover over the form you want to send to monday.com and click Settings → Webhooks.
For the tutorial, I’m working with a contact form:
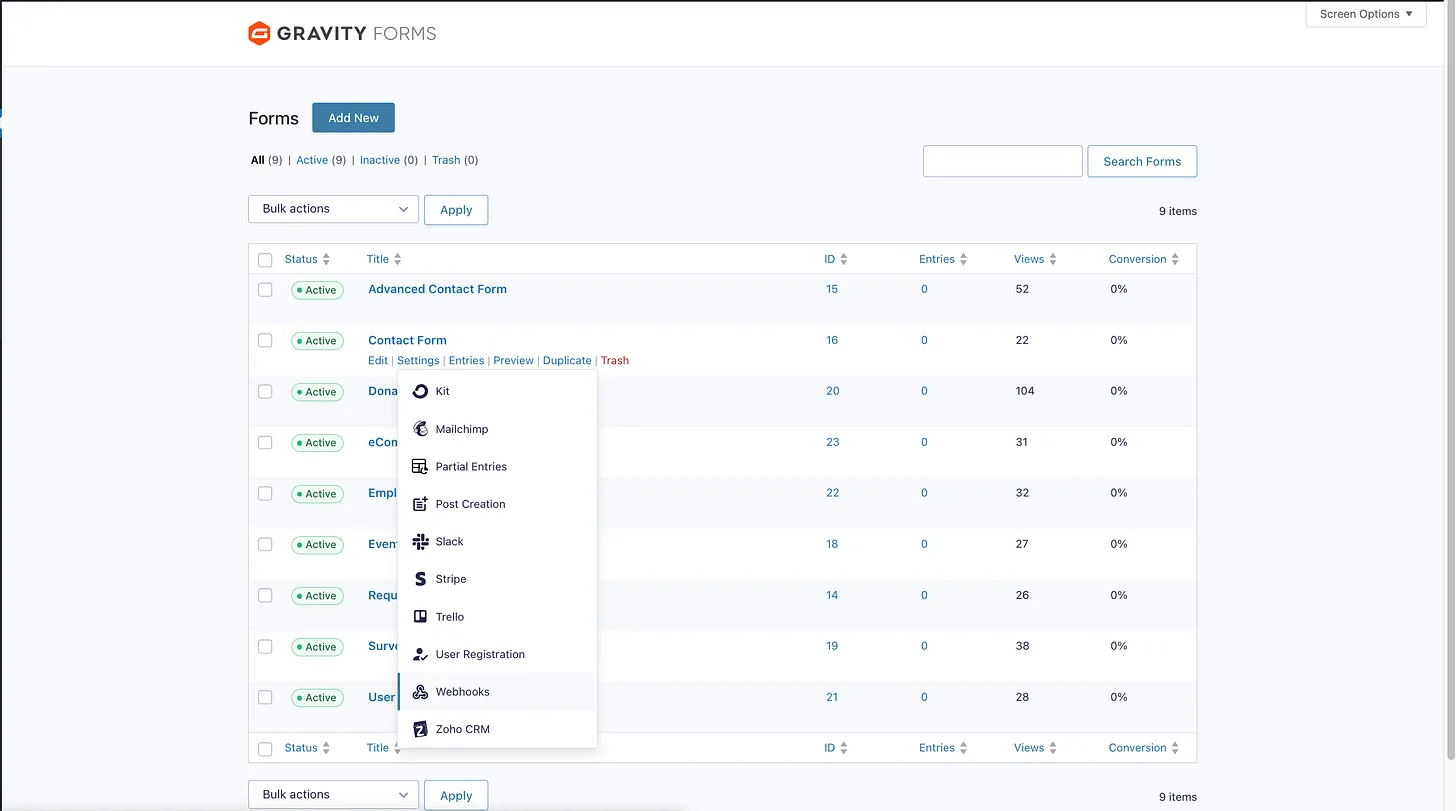
Clicking “Webhooks” will take you to the Webhook Feeds page. On this page, click the “Add New” button to configure your outgoing webhook.
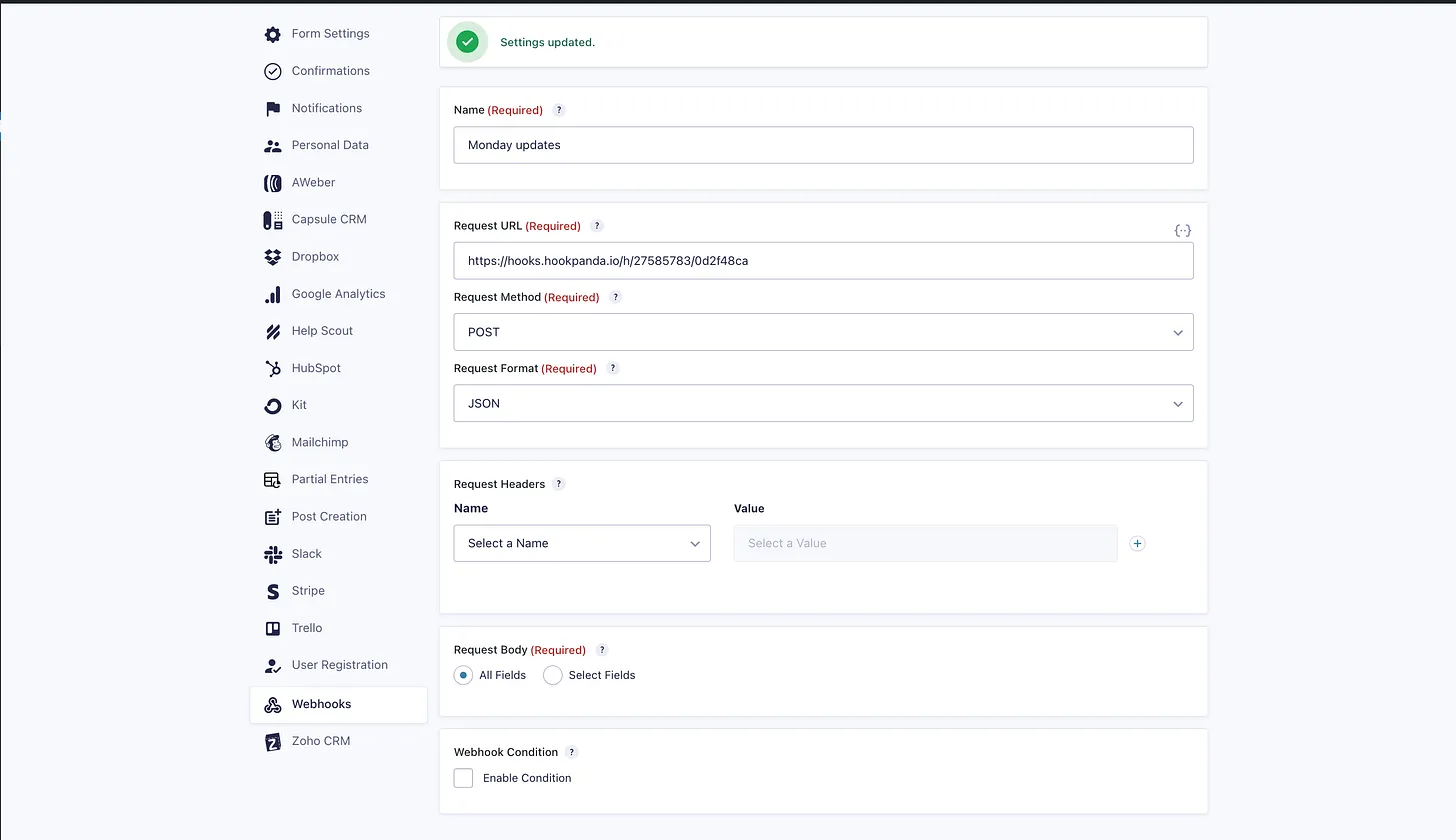
Gravity Forms Webhook configuration
Fill in the required fields for the webhook configuration.
- Request URL: Copy the URL of the webhook you created in monday.com and paste it here. The URL will look like
- Request Method: Select
- Request Format: Select
- In the Request Body section:
- To forward all form fields to monday.com, choose “All Fields”.
- Otherwise, select individual fields and configure them as needed.
Once you’re done, click “Save Settings”.
Here’s what my configuration looks like after completing all fields:
HookPanda Webhook configuration
Next, we need to map the data received from Gravity Forms to the columns on our monday.com board.
For this tutorial, I’m working with a simple form that contains three fields:
- Name
- Message
I’ll be pushing the data from these fields to a board that has three corresponding columns.
Click the gear (Settings) icon next to your HookPanda webhook to open the “Manage Webhook” drawer.
In the “Field Mapping” section, add an entry for each form field you want to forward. For the “json.path” field, enter the corresponding Gravity Forms field ID, which you can find in the form configuration view in WordPress, and select the target column from the dropdown next to it.
Here’s what my completed field mapping looks like:

When you are done, save your changes.
Testing your Webhook
You’re now ready to test your webhook. Make sure the webhook is enabled — you can check this on your HookPanda board. If it’s not active, simply toggle the switch to enable it.
With the fields mapped and the webhook enabled, fill out your Gravity Form and submit it. The data should appear immediately in your target monday.com board.
Optional: Authentication
If you want to add some security to your webhook, you can configure an authentication token in the “Authentication” section of the Manage Webhook drawer.
Next, add the corresponding Request Header in your Gravity Forms Webhook settings on WordPress. Make sure the header name and value exactly match the values you configured in HookPanda.
Current Limitations
If you’re using Advanced Fields in your Gravity Form, note that some of these fields include dots in their JSON field names. Since HookPanda interprets dots as nested JSON paths, this can sometimes cause parsing issues and prevent the JSON from being processed correctly.
Support for dots in field names is currently being worked on and will remove this limitation when using HookPanda with Gravity Forms webhooks.
That’s it — you’ve successfully connected Gravity Forms to your monday.com board using HookPanda. With your fields mapped and your webhook active, form submissions will now flow directly into monday.com.
If you run into any issues or have questions along the way, feel free to reach out to our support team — we’re happy to help.